
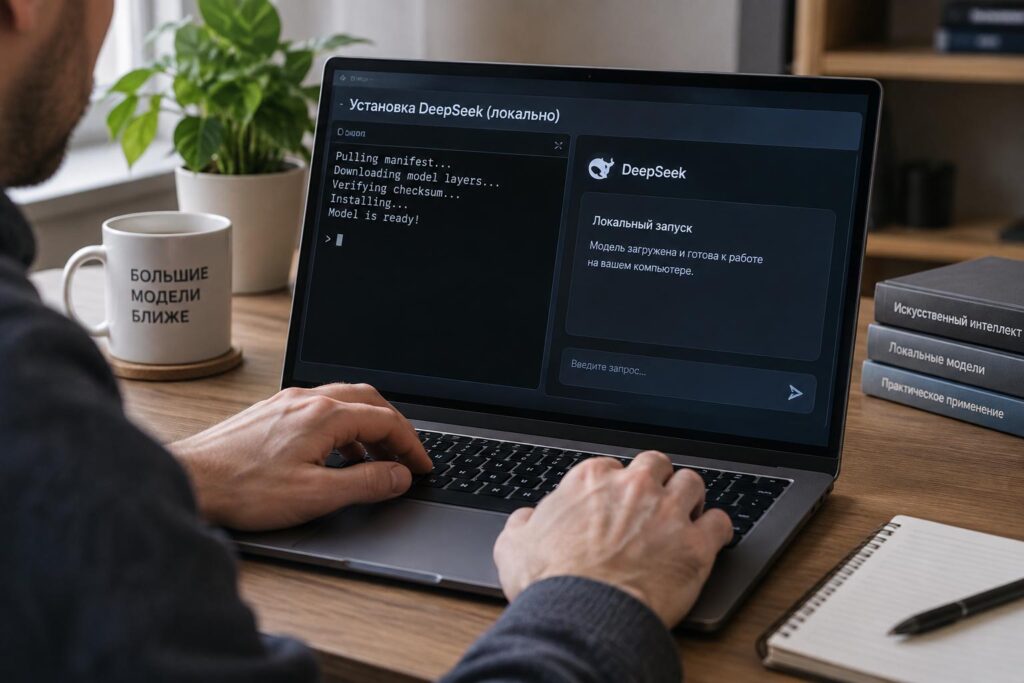
Running a language model on your own machine has a particular appeal. No waiting in line for a web service, no wondering where your prompts go, and no dependence on someone else’s uptime. If you want practical control over AI, локальный DeepSeek is one of the most interesting places to start.
This guide is about the real work behind that idea: what hardware you need, which tools make life easier, how installation differs on Windows, macOS, and Linux, and what usually breaks first. I’ll keep it grounded. Local AI can be surprisingly smooth today, but only if you pick the right setup instead of forcing your laptop into a fight it can’t win.
Why people want DeepSeek running locally
The first reason is privacy. When you run a model on your own computer, your prompts and files stay on that device unless you choose to share them. For developers, researchers, journalists, and anyone handling sensitive material, that changes the equation immediately.
The second reason is control. You decide which model to use, what quantization level makes sense, whether the model should have internet access, and how much memory you want to dedicate to it. That freedom matters more than people expect, especially once they move past casual chatbot use.
There’s also the cost angle. A cloud API is convenient, but frequent use adds up. A local setup has an upfront hardware cost, yet for many users the economics improve quickly if they work with AI every day.
Then there’s the simple appeal of experimentation. An open-source модель invites tinkering in a way hosted tools rarely do. You can compare variants, benchmark speed, test prompts offline, or build a private workflow around a model you fully control.
What “local DeepSeek” actually means
People often say they want to install DeepSeek on a computer, but that can mean a few different things. In practice, you are usually downloading model weights in a local-friendly format and running them through an inference tool such as Ollama, LM Studio, llama.cpp-based software, or a similar runtime.
That distinction matters because the model itself is only part of the picture. You also need a program that knows how to load the files, manage memory, use your CPU or GPU efficiently, and expose a simple interface for chatting or integrating the model into scripts.
So when we talk about Локальный запуск DeepSeek: установка на свой компьютер (локальный DeepSeek), we are really talking about three layers. First, the model files. Second, the runtime that serves or opens them. Third, the hardware that determines whether the experience feels fast, tolerable, or painful.
Before you install anything, check your hardware honestly
This is where many guides become vague, and vague advice is expensive. Local models are limited mainly by RAM, VRAM, storage speed, and patience. If your system is modest, you can still run smaller or heavily quantized models, but expectations need to match reality.
For CPU-only use, system RAM is critical. For GPU acceleration, available VRAM usually becomes the deciding factor. Storage matters too, because model files are large enough that slow disks make loading times noticeably worse.
| Component | What it affects | Practical note |
|---|---|---|
| System RAM | Whether larger models can load at all | 16 GB is a workable starting point for smaller local setups; 32 GB gives more breathing room |
| GPU VRAM | Inference speed and ability to offload layers | 8 GB can handle many smaller quantized models; more VRAM improves options significantly |
| CPU | Fallback performance without strong GPU acceleration | Modern multi-core CPUs help, but CPU-only inference is often much slower |
| Storage | Model download and load times | SSD is strongly recommended |
If you have a newer desktop GPU, the experience improves dramatically. If you have only an ultrabook with 16 GB RAM, you can still experiment, but model choice becomes much more important. The phrase запуск DeepSeek на ПК sounds simple; in reality, the hardware decides whether that launch feels elegant or frustrating.
Choosing the easiest path: Ollama, LM Studio, or manual setup
Most people should not begin with a manual build from source. It sounds satisfying until you spend an evening reading dependency errors. The better starting point is a mature local runtime with a decent interface and clear documentation.
Ollama
Ollama is popular because it keeps the workflow clean. You install the app, open a terminal, pull a model, and start chatting. It is especially friendly for developers who want a local API endpoint without building a full custom stack.
Its model library and simple commands reduce setup friction. For many users, this is the fastest route to развёртывание DeepSeek on a personal machine without getting lost in low-level details.
LM Studio
LM Studio is often easier for people who prefer a graphical interface. You can browse compatible models, download them, tweak a few settings, and chat right away. It also supports running a local server for app integrations.
I’ve seen non-technical users succeed with LM Studio faster than with command-line tools, largely because the interface makes memory limits and model options easier to understand. If you hate terminal windows on sight, this is a sensible option.
Manual runtimes and advanced toolchains
More experienced users may prefer llama.cpp-based workflows, containerized services, or custom Python stacks. These approaches provide flexibility for benchmarking, scripting, and fine control over backends, but they also assume you are comfortable solving environment issues on your own.
If your goal is to learn infrastructure, manual installation can be worthwhile. If your goal is simply to use the model this week, start with something packaged and reliable.
Which DeepSeek model should you pick first?
This question matters more than the installer. Model families may include different sizes, specialized versions, and quantized variants. A smaller model that fits comfortably in memory often outperforms a larger one that constantly struggles to load or runs at a crawl.
As a rule, beginners should start with a smaller quantized build that is known to work well in local runtimes. Once the setup is stable, move upward in size if your hardware allows it. That sequence saves time and protects your enthusiasm.
Quantization reduces model size and memory use by storing weights in a more compact format. The tradeoff is that some precision is lost, though in everyday use the difference is often acceptable. For local AI, quantization is less a compromise than a survival skill.
- Start with a smaller model if you have 16 GB RAM or limited VRAM.
- Use quantized formats when running locally on consumer hardware.
- Move to larger variants only after checking speed, memory use, and output quality.
Installing DeepSeek with Ollama
For many readers, this will be the smoothest route. Ollama is available for major desktop operating systems, and once it is installed, the remaining workflow is straightforward. You are essentially letting Ollama handle the heavy lifting of model management.
Step 1: Install Ollama
Download Ollama from its official website and complete the installer for your operating system. On macOS and Windows, this usually feels like installing any normal desktop application. On Linux, the process may involve a shell command provided by the project.
After installation, confirm that Ollama is running. On some systems it starts as a background service. If the command-line client cannot connect, the service may not be active yet.
Step 2: Pull a compatible DeepSeek model
Once Ollama is installed, open Terminal on macOS or Linux, or PowerShell on Windows. Then use the relevant Ollama command to download a supported DeepSeek model from its library. Exact model names can change over time, so use the official library listing rather than trusting an outdated blog post.
This step may take a while depending on your internet speed and model size. A local model is not a tiny app download. Even a trimmed version can occupy several gigabytes.
Step 3: Run the model
After the download finishes, use the run command for that model. If everything is configured correctly, you should drop into a chat session in the terminal. That moment is oddly satisfying the first time it works, especially after years of cloud-only AI tools.
If performance feels poor, do not assume the model is bad. Often the problem is that the machine is falling back to CPU processing, memory is constrained, or the chosen model is simply too large for the hardware.
Step 4: Connect through an API if needed
Ollama can expose a local API, which is useful if you want to connect the model to editors, scripts, note-taking tools, or small internal apps. For developers, this is where local inference becomes more than a novelty. It turns into infrastructure.
I’ve used local API endpoints for draft generation, classification tasks, and private document experiments. The convenience is real. Once the setup is stable, запуск DeepSeek на ПК stops feeling like a technical trick and starts feeling like part of the daily toolkit.
Installing DeepSeek with LM Studio
LM Studio is the route I recommend for readers who want fewer command-line steps and more visual guidance. It wraps local inference in a friendly desktop interface and makes model browsing easier than many terminal-first tools.
Step 1: Install the application
Download LM Studio from the official source and install it like a standard desktop app. After launch, spend a minute looking through the menus rather than clicking randomly. A little orientation helps because local model settings can affect both speed and stability.
Step 2: Find a DeepSeek-compatible model
Inside the app, use the model search or library interface to locate a compatible DeepSeek build. Pay close attention to file format, quantization, and any notes about required memory. This is the point where many users accidentally choose the biggest option because it sounds impressive.
Resist that instinct. Pick the model your machine can run comfortably, not the one that looks heroic in a screenshot.
Step 3: Download and load the model
Once selected, download the model and load it into memory. Depending on your hardware, this may take anywhere from seconds to several minutes. LM Studio usually provides useful visibility into what the model is doing during load.
When the model is ready, test it with short prompts first. If the app freezes, memory spikes wildly, or token generation is painfully slow, step down to a smaller or more compressed version.
Step 4: Tune inference settings
You may see options for context length, GPU offload, temperature, and threads. If you are new to local models, change one setting at a time and observe the result. Tuning everything at once is the fastest way to lose track of what improved performance and what broke it.
LM Studio makes this experimental process less intimidating. That’s why it remains a strong choice for first-time развёртывание DeepSeek on a home computer.
Operating system notes: Windows, macOS, and Linux
The broad process is similar everywhere, but the rough edges differ. Knowing those differences in advance saves time and lowers the chance of blaming the wrong component.
Windows
Windows is usually fine for mainstream local AI tools, especially packaged apps such as Ollama and LM Studio. Driver quality matters a lot if you are using an NVIDIA GPU, so keep graphics drivers current. Also make sure security software is not blocking local services or model downloads.
File paths and permissions can occasionally be awkward, especially if you move model folders manually. If something fails for no obvious reason, test with a default install location before trying elaborate workarounds.
macOS
Apple Silicon machines are often better at local AI than their slim designs suggest. Unified memory helps, and many users report smooth experiences with smaller and mid-sized quantized models. That said, memory limits are still real, and fanless systems can throttle under heavy sustained use.
On a recent MacBook with enough memory, a local setup can feel surprisingly polished. It is one of the few cases where an ultraportable machine can deliver a genuinely pleasant private AI workflow.
Linux
Linux offers flexibility, scriptability, and in many cases excellent control over drivers and services. It is also the environment where you are most likely to end up solving package, permission, or backend issues if you go off the beaten path.
For advanced users, that tradeoff is often worth it. For beginners, a packaged runtime still makes sense unless the goal is specifically to learn the internals of local inference.
Common problems and how to fix them
Most installation failures are not mysterious. They come down to memory pressure, unsupported acceleration, incomplete downloads, or choosing a model too large for the system. The fastest way forward is to debug methodically instead of changing five things at once.
| Problem | Likely cause | What to try |
|---|---|---|
| Model won’t load | Not enough RAM or VRAM | Use a smaller quantized model; close other memory-heavy apps |
| Very slow responses | CPU-only inference or weak GPU offload | Check acceleration settings; reduce model size |
| App crashes during load | Corrupt model file or memory exhaustion | Re-download the model; monitor memory usage |
| High-quality hardware but poor speed | Driver or backend issue | Update drivers; verify the runtime is using the GPU |
One pattern comes up again and again: users underestimate how much memory the rest of the system is already using. Browser tabs, design tools, IDEs, and background sync apps quietly eat the margin that local models depend on. Closing them can make the difference between failure and stability.
Another common mistake is chasing the largest available model before verifying the pipeline. Get one smaller model working first. That proves the runtime, permissions, and acceleration stack are sound.
Performance tuning without getting lost in the weeds
Once the model runs, the next question is whether it runs well. Good local performance is usually the result of a few practical adjustments, not endless micro-optimizations. Start with the big levers.
Use a quantized model appropriate for your machine
If you are on consumer hardware, a well-chosen quantized model is often the smartest compromise. It lowers memory use dramatically and usually preserves enough quality for writing, coding assistance, summarization, and general experimentation.
Enable GPU acceleration where supported
Running everything on the CPU works, but often slowly. If your runtime supports GPU offload and your hardware is compatible, use it. Even partial layer offload can improve responsiveness enough to make the system feel practical rather than academic.
Keep context length realistic
Long context windows are attractive in theory, but they consume more memory and can reduce speed. For many day-to-day tasks, a moderate context setting is the better choice. Increase it only when the actual task requires it.
Watch thermal and power limits
Laptops can perform well for short bursts and then slow down as heat builds up. If output speed drops over time, thermal throttling may be part of the story. Plugging the machine into power and using a cooler environment sometimes helps more than any software tweak.
Privacy, security, and what local really protects
A local model improves privacy, but “local” is not magic. Your prompts may stay on your device, yet logs, third-party plugins, synced folders, and unsecured local APIs can still create exposure. Privacy depends on the whole workflow, not only where inference happens.
If you are handling sensitive material, treat the local machine seriously. Use disk encryption, keep the operating system updated, and avoid exposing a local inference server to the wider network unless you know exactly what you are doing.
There is also a subtler advantage to local use: predictability. Cloud services change models, rate limits, and policies. A local setup may require more initial work, but once it is stable, it tends to behave the same way tomorrow as it did today.
What local DeepSeek is good at—and where it still falls short
Local models are excellent for drafting, summarizing, brainstorming, rewriting, coding assistance, classification, and private experimentation. They are particularly useful when you need repeatable access without network dependence. That alone is enough to justify the setup for many users.
But there are tradeoffs. Large frontier cloud models still tend to offer stronger performance in some complex reasoning tasks, broader tool integrations, and less hardware friction. A local setup wins on control, not on pure convenience.
That balance matters when setting expectations. If you want a private AI assistant that works consistently on your own machine, local DeepSeek can be a strong fit. If you expect every local model to outperform premium hosted systems, disappointment arrives quickly.
Real-world use cases that make local installation worth it
The best argument for a local model is not ideology. It is usefulness. Once the novelty wears off, the setup needs a job.
- Private document summarization for internal reports or personal archives
- Code assistance in environments where source material should not leave the machine
- Prompt testing and evaluation without API costs
- Offline writing support during travel or unreliable internet access
- Small local automations driven by a private API endpoint
I’ve found local models especially helpful when working with messy drafts. A cloud tool is convenient, but a local system feels different when the material is sensitive or simply not ready to be uploaded anywhere. That psychological ease is easy to overlook until you have it.
How to approach развёртывание DeepSeek for regular use
After installation succeeds, spend a little time organizing the environment. Decide where models will live, how much storage you want to allocate, and which runtime you will use consistently. Constantly hopping between tools creates confusion that looks like technical instability.
If you plan to use the model for work, create a repeatable startup routine. Keep one or two tested models instead of downloading every variant you see. Document the settings that run well on your machine, especially if you experiment with threads, offload, or context length.
This sounds dull, but it pays off. The difference between a toy setup and a dependable one is usually not raw power. It is discipline. A stable local AI environment is built the same way most useful systems are built: a few sensible choices, repeated consistently.
Final advice before you start
If you are new to local AI, begin with the easiest tool and the smallest sensible model. Get one clean success. Then improve from there. That path is faster than trying to build the perfect setup on day one.
Think of Локальный запуск DeepSeek: установка на свой компьютер (локальный DeepSeek) less as a single installation task and more as choosing a personal AI workspace. The model matters, but so do the runtime, the hardware, and your expectations. When those pieces match, the experience is not only workable—it is genuinely useful.
And that is the point. Not to prove that everything can be run locally, but to build a setup you will actually use next week, next month, and long after the excitement of the first successful launch has faded.
